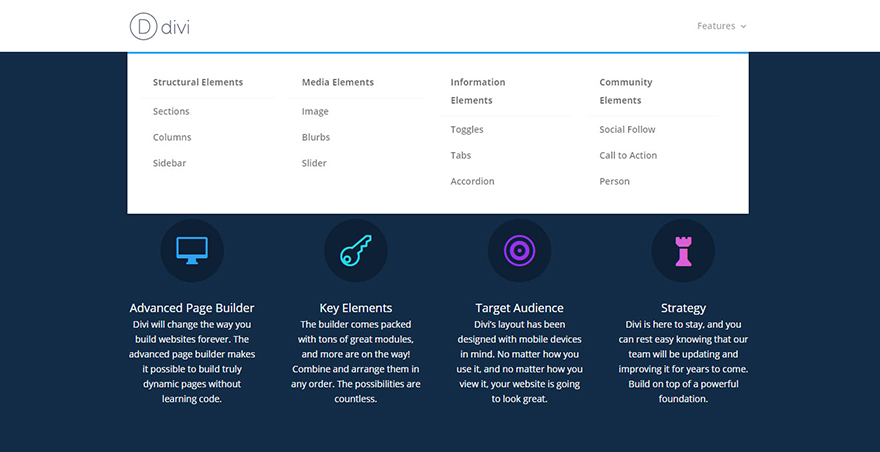
Mega menus allow users to see more links all at once without the hassle of scrolling, hovering, and remembering the contents of your menu. A good way to think about Mega Menus is that they are drop down menus within drop down menus. So instead of your normal dropdown menu which shows a submenu when hovering over your main parent links in your navigation bar, a megamenu allows you to have additional parent links and submenus within the dropdown menu.
How To Add A Mega Menu To Your Navigation Bar
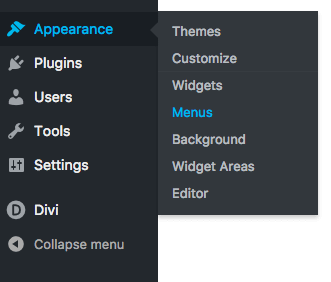
Log in to your WordPress dashboard and go to Appearances > Menus.

Create a menu with four parent links with each of the parent links having their own submenu links. In the example below I’m adding three submenu items under each of the four parent menu links.

Create an additional link to serve as your megamenu link. For the example below I’m calling this link “Features”. Then drag the four parent menu links (each with their submenu links) over under the Features link.

Now in order to make your Megamenu you have to add a special CSS class to the main top tier link called “Features”. You can do that by clicking the screen options link of the top your page and making sure the CSS class option is checked.

Finally, you need to add a css class to the “Features” link you just created. Click the arrow on the right of the “Features” menu item to toggle the additional configuration options. Find the text box labeled CSS Classes and enter the class “mega-menu”.

Now when you reload your page you can see that all those previous menus have been placed in the one giant menu under this one link, the Mega Menu.

Source: https://www.elegantthemes.com/documentation/divi/mega-menus/

